
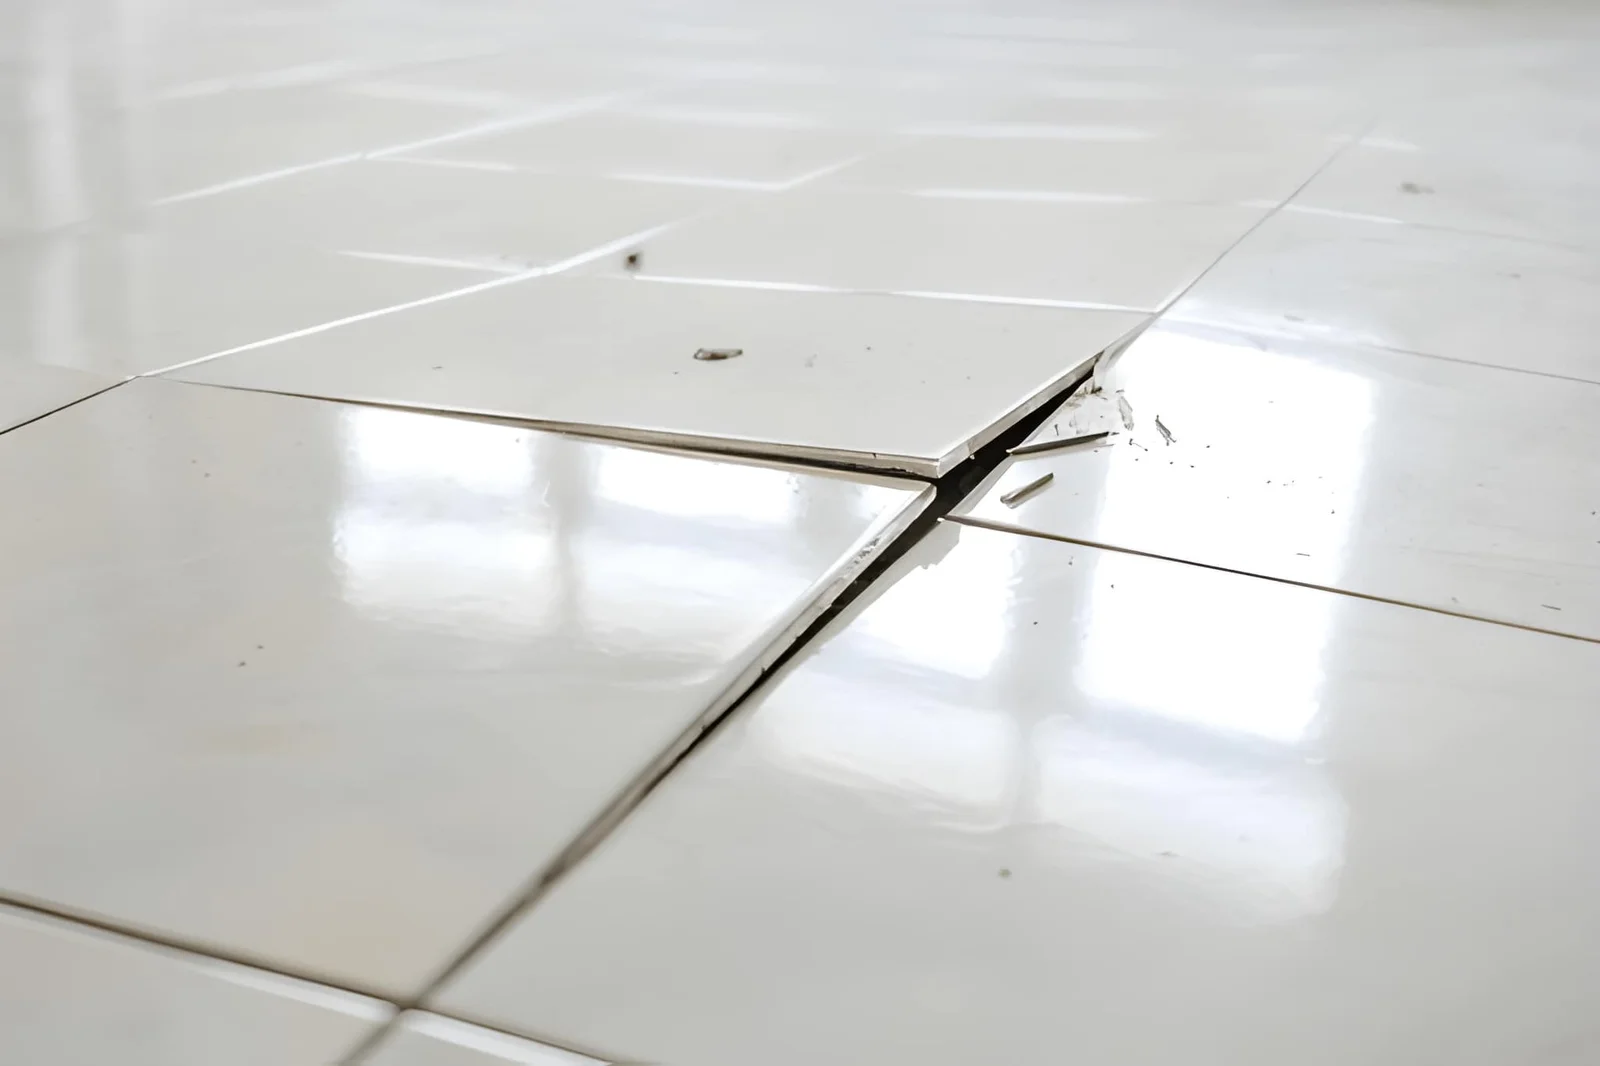
A loose bathroom tile almost never starts as a tile problem. It starts as a bond problem, and the bond usually fails for one of two reasons: water got behind the tile, or the tile was never fully bonded in the first place. If you are asking why bathroom tiles become loose and how you can repair them, the most useful first step is to listen. Tap the tile and the ones around it. A solid sound means a good bond. A hollow, drumming sound means a void underneath.
One tile guide puts it plainly: common causes include too little thin-set during the original installation, or subfloor movement from humidity changes or structural shifts. A second source adds that moisture leaks between tiles, around loose grout or caulk, and soaks into the porous wall behind.
I have seen owners reset the same tile three times without checking for the leak underneath. The tile was not the issue. The wall was.
This article is general information, not a professional inspection. It covers a quick answer, a cause table, a tap-test diagnosis, a step-by-step repair, cure times, when to call a pro, mistakes to avoid, and a short FAQ.
Why do bathroom tiles become loose, and how can you repair them?
Bathroom tiles loosen mainly because of moisture, failed grout or caulk, poor adhesive coverage, or movement in the surface underneath. To repair one, remove the grout around it, lift it, scrape off old adhesive, check the substrate for dampness or damage, re-bed the tile with fresh thin-set, and regrout after the adhesive sets. Fix any leak first.
What causes it?
| Cause | Clue | Fix |
|---|---|---|
| Moisture behind tile | Darkened grout, mold, and a hollow sound when tapping | Find and stop the leak first |
| Failed grout or caulk | Moisture leaks around loose grout or caulk and is absorbed by the wall behind | Regrout and recaulk |
| Poor adhesive coverage | Poor adhesive coverage or trapped air pockets under the tile | Re-bed with fresh thin-set |
| Substrate movement | Hairline grout cracks in straight lines can indicate subfloor movement or missing expansion joints | Repair the base |
| Wrong joint type | Caulk, not grout, belongs at change-of-plane joints | Use flexible caulk |
| Plumbing leak | Leaks behind the wall can damage shower walls | Call a plumber |
How do you diagnose it?
| Test | What it shows |
|---|---|
| Tap test | A sharp, solid sound means good adhesion, while a hollow drumming noise means the thin-set has failed |
| Press test | Look for movement or rocking |
| Grout check | Loose grout usually means the tile is moving |
| Moisture check | A moisture meter can check substrate wetness |
| Feel the floor | A soft or spongy feel suggests water staining and warping |
Ignoring a hollow sound can backfire. It can lead to cracked tiles, grout deterioration, water damage, and further movement.
What are the repair steps?
| Step | Action |
|---|---|
| 1 | Stop the moisture source and let the area dry |
| 2 | Remove the grout around the affected tiles and pry up the tile |
| 3 | Clean the substrate and the back of the tile of all old thin-set |
| 4 | Inspect the base for rot, cracks, or soft spots |
| 5 | Use polymer-modified thin-set on cement backerboard, spread with a notched trowel |
| 6 | Press the tile in with a slight wiggling motion for a good bond |
| 7 | Wait 24 hours, then regrout and wipe away the excess |
Use a waterproof, cement-based thin-set for bathrooms, and avoid ready-mixed tubs for floor tiles. Clean thin-set squeezing up through grout lines right away with a damp sponge.
How long should you wait?
| Material | Typical cure time |
|---|---|
| Thin-set | Usually 24 hours, though quick-drying types can cure in a couple of hours |
| Cement grout | Typically 24 to 72 hours before water exposure |
| Grout before sealing | Usually 24 to 48 hours before applying sealer |
| Weight on the tile | Putting weight on tiles before they fully cure can cause shifting or breakage |
Follow the product label, since times vary.
When should you call a professional?
| Situation | Why |
|---|---|
| Many tiles loose | The problem may be the substrate |
| Spongy floor or wall | Rot, mold, or fastener issues may need repair |
| Recurring failure | Structural movement or moisture intrusion needs a deeper fix |
| Suspected leak | Plumbing diagnosis |
| Visible mold | Moisture source and cleanup |
What mistakes should you avoid?
- Regrouting over a loose tile. The bond stays broken.
- Skipping the leak check. Water will win.
- Using grout in corners. Use flexible caulk.
- Rushing the cure. Keep water and weight off.
Frequently asked questions
Why does a tile sound hollow?
A hollow sound usually points to adhesive failure between tile and substrate.
Can you glue a loose tile back?
Reset it with proper thin-set after cleaning the surface.
How often should you check grout and caulk?
Monthly, repairing cracks or gaps promptly.
Bottom line
Tap, diagnose, and fix the moisture first. Lift the loose tile, clean both surfaces, re-bed with proper thin-set, and regrout after the right cure time. Call a professional for spongy surfaces, many loose tiles, or leaks.
for more information visit https://tipsdrhomey.org/